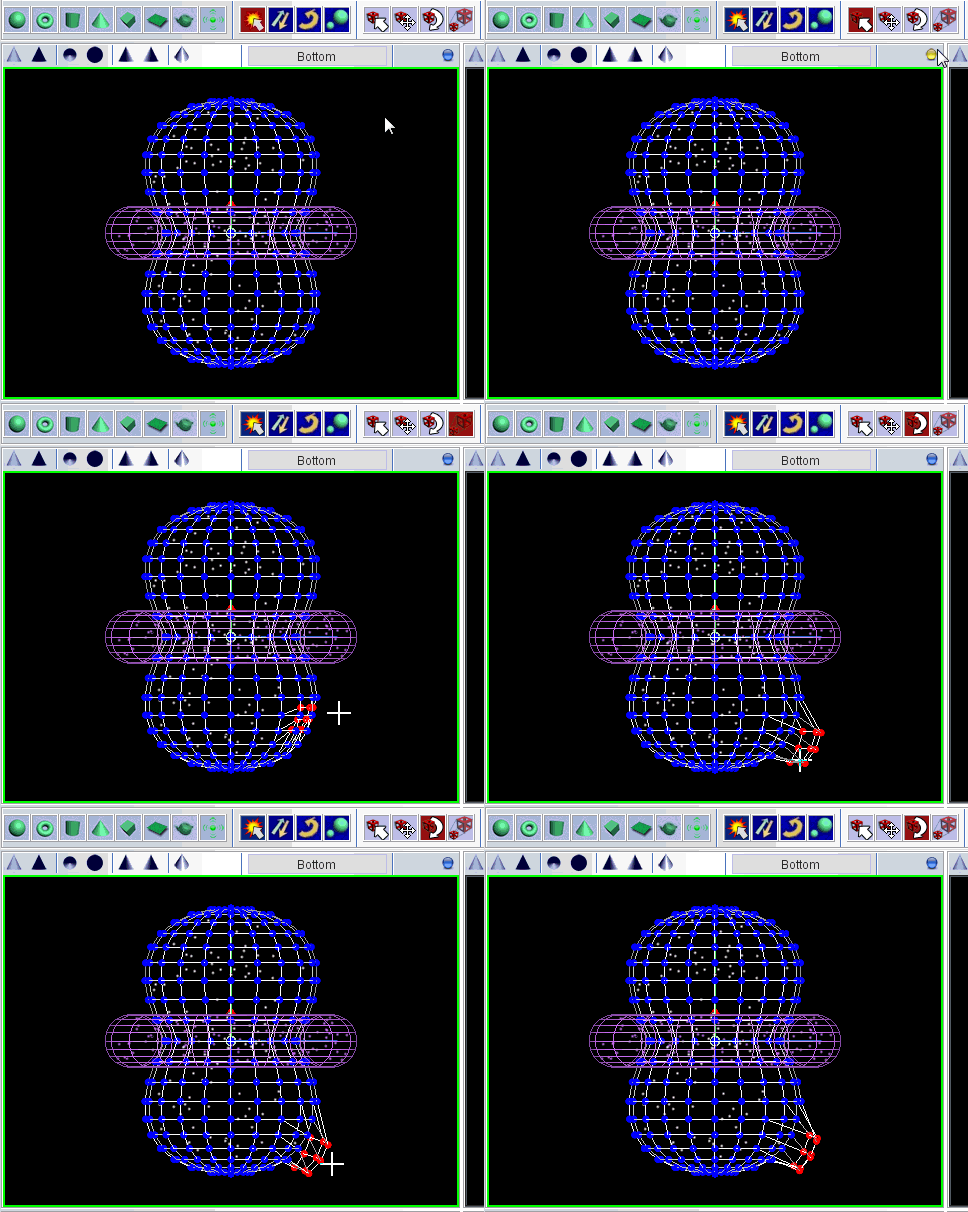
With the vertex transforms you can select and move individual vertices of the object mesh in the 3D Module. This allows for changes at the smallest resolution level of a mesh. Individual or group selections of vertices can be moved.
The vertex transforms complement the structural changes of a primitive object that can be achieved with the geometry modifiers.
To use the vertex transforms you first select a single or group of vertices after activating the selection button.

By default the vertices have no special markings. You can make them visible as blue dots by increasing the Vertex Size parameter in the Primitive properties panel.
Now click on any view that is aligned with the coordinate axes (not the shape or perspective view) and drag out a rectangle over the vertex or group of vertices that you want to select. The selected vertices turn red. Add more vertices to your selection by dragging out additional rectangles while pressing the Shift button on your keyboard.
To apply a transform select one of the other icons, which correspond to translation, rotation and scaling from left to right, respectively. Then, in the active view, drag the mouse with the left mouse button pressed to move the selected vertices.
Note that in the Modifier Panel a new modifier, called Custom Vertex, appears when you start moving a selection of vertices. Although a limited number of undo operations (Ctrl-z) can be performed on the vertex transforms, in case you need to start over again, you can simply restore the original state of the object by disabling or deleting the Custom Vertex modifier.
To restrict the direction of a transform to refer just to a single coordinate axis you can press the x, y and z keys while dragging the mouse
To change the selection of vertices, reactivate the selection icon and start a new selection.
